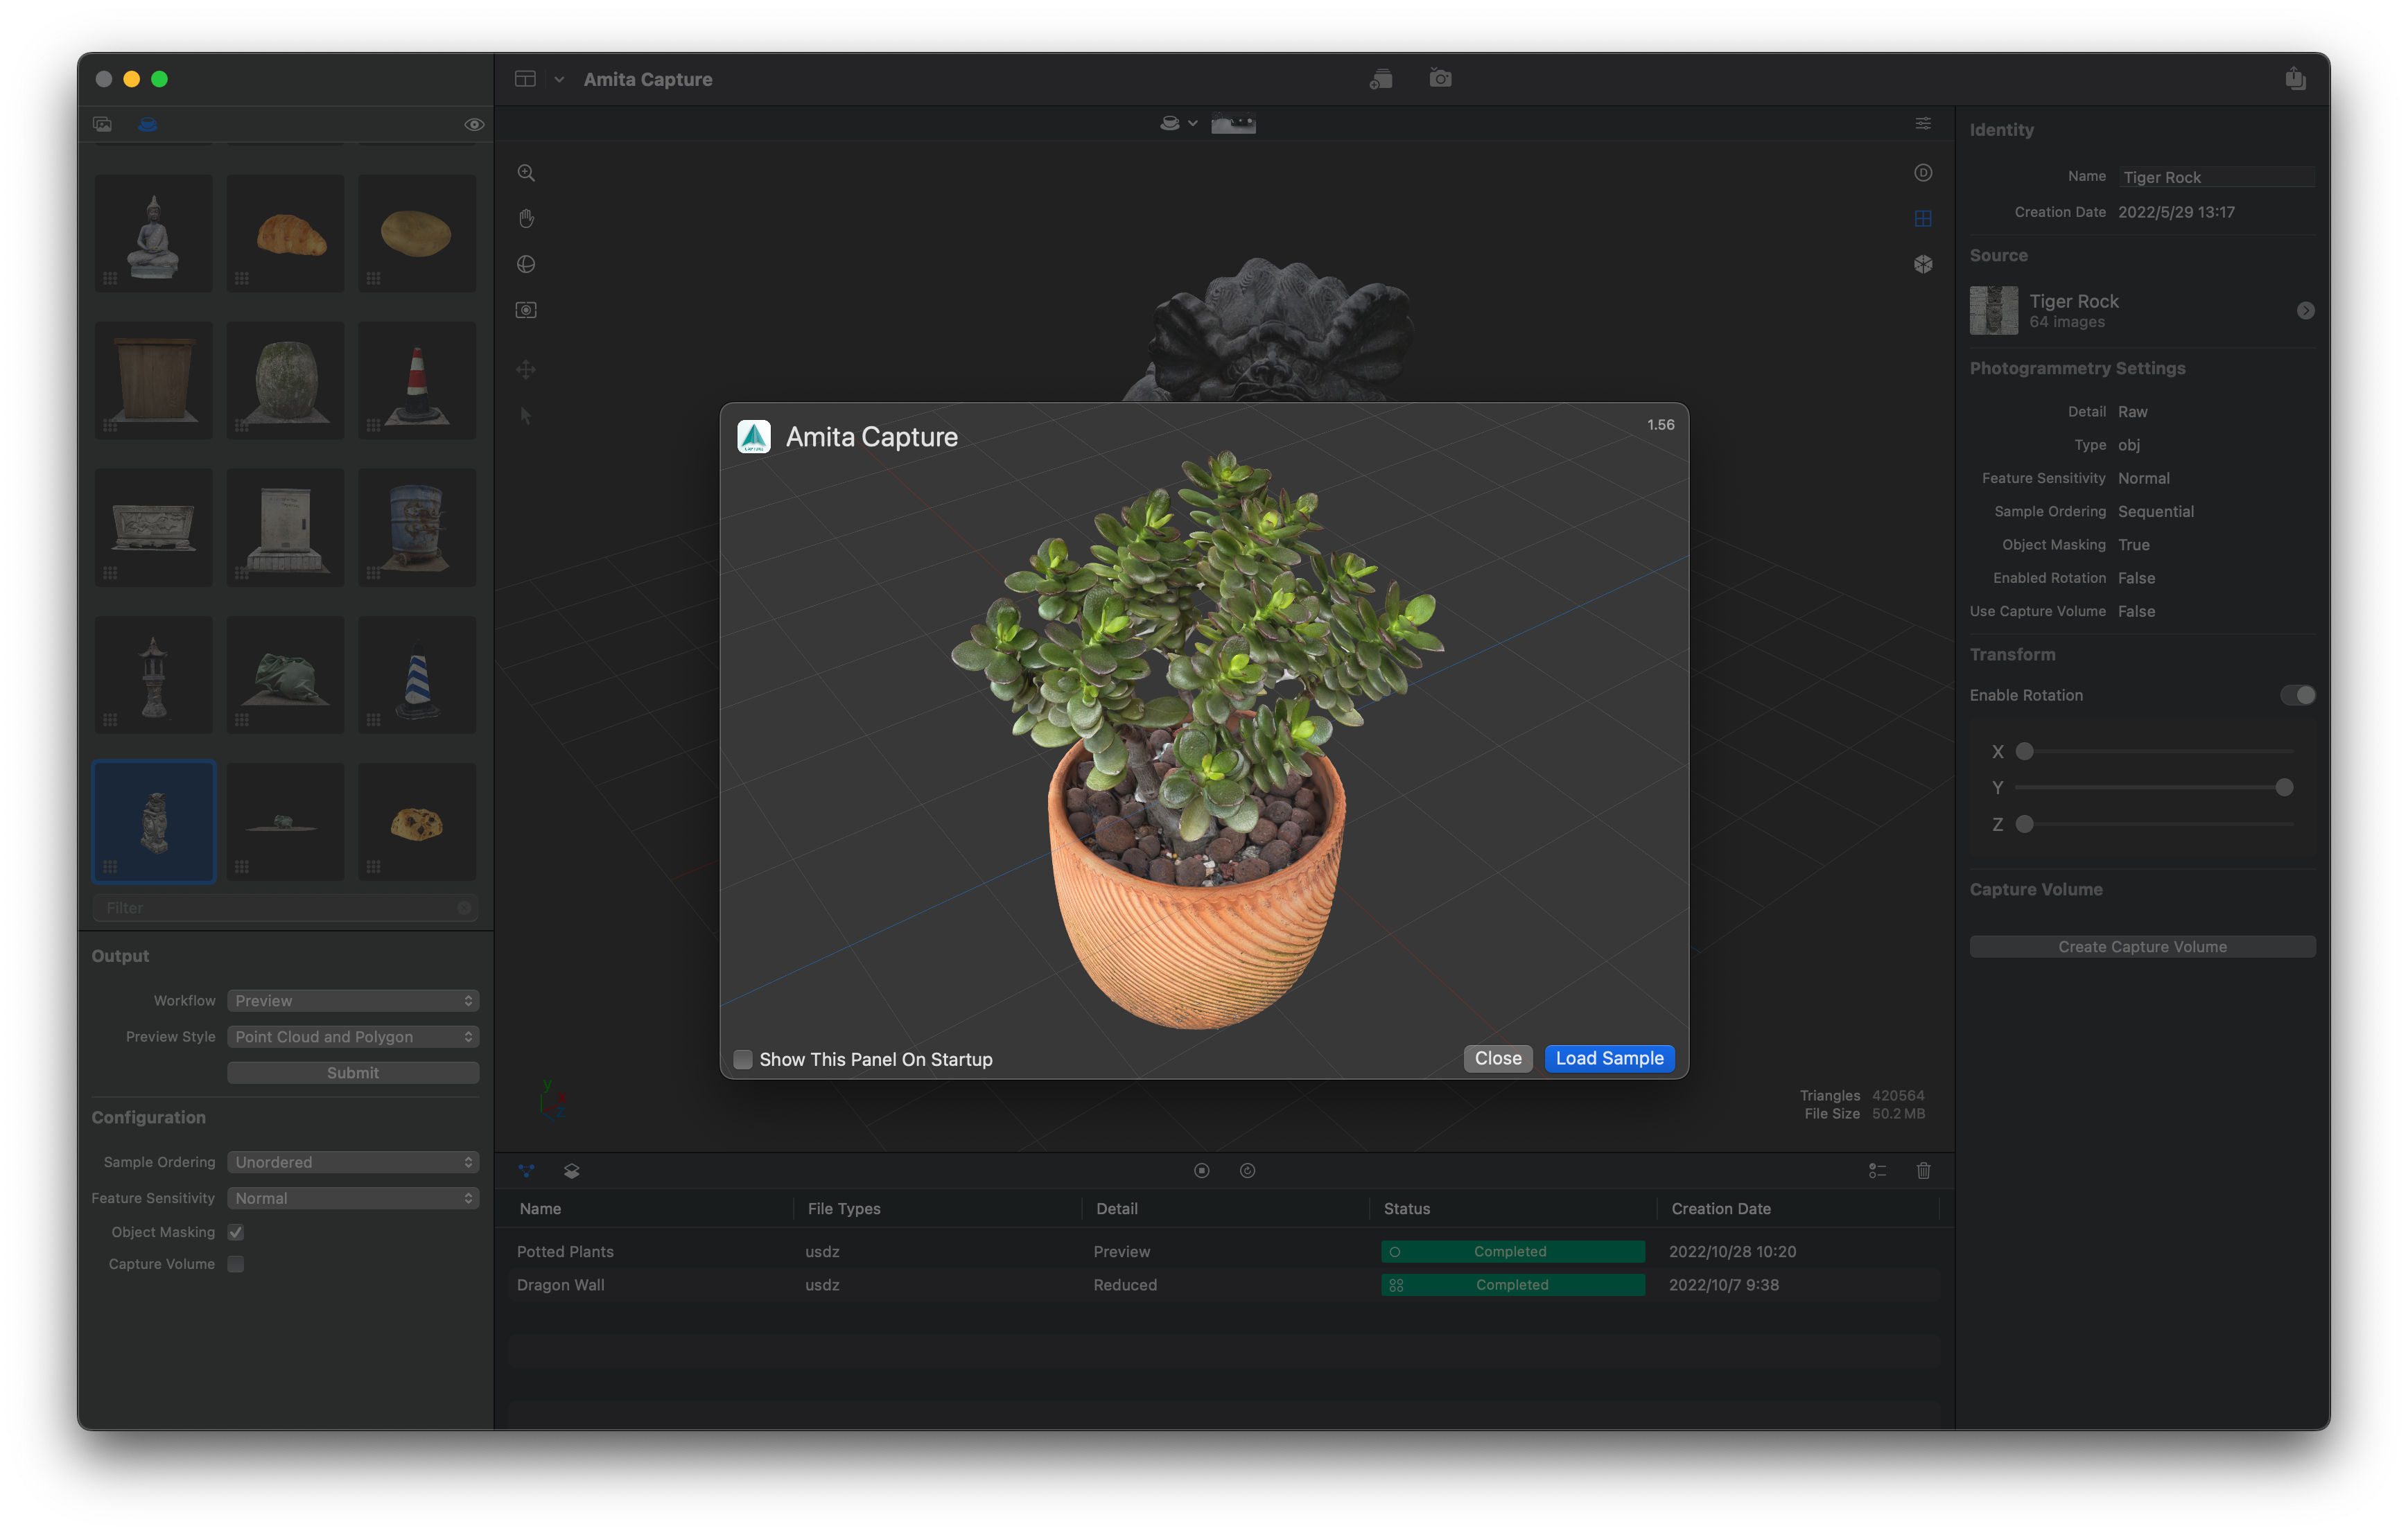
Import Images
- Use Command + I then select the folder which contains images or drag folders to import.
- Or load the sample capture from “File -> Load Sample Capture”.
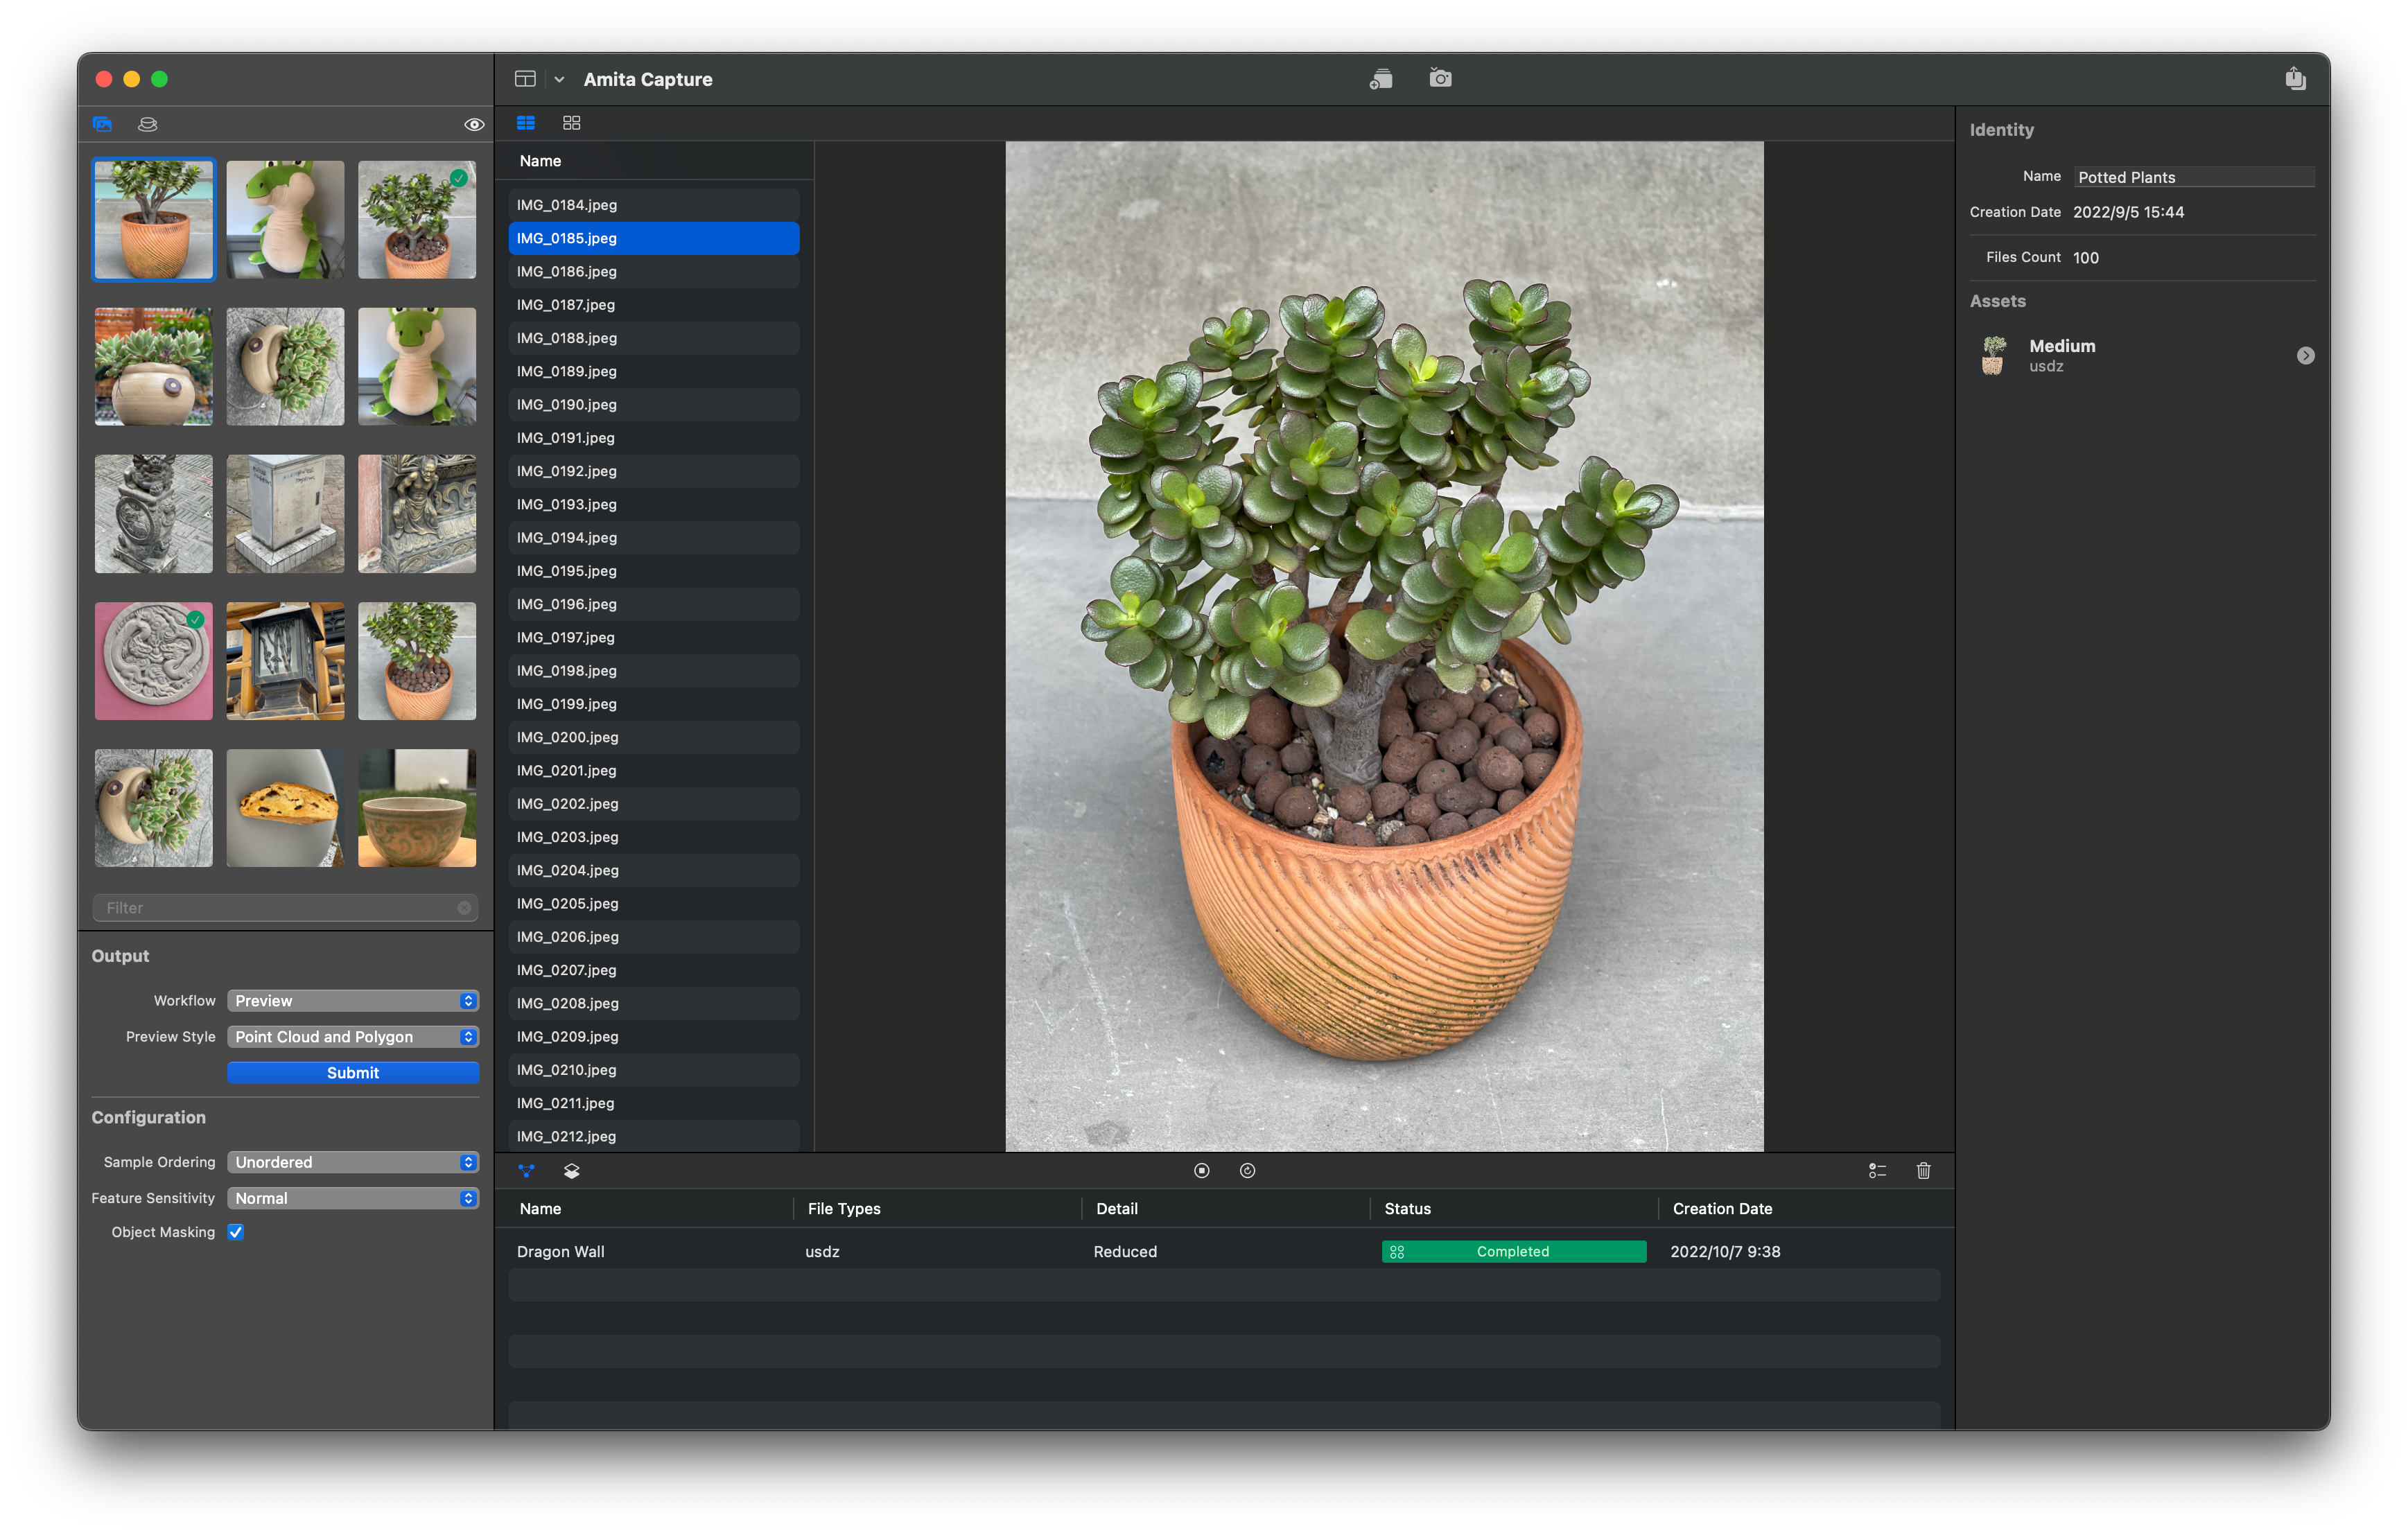
Open Capture
- Double click at the capture thumbnail, or right click to choose “Open” to open the capture.
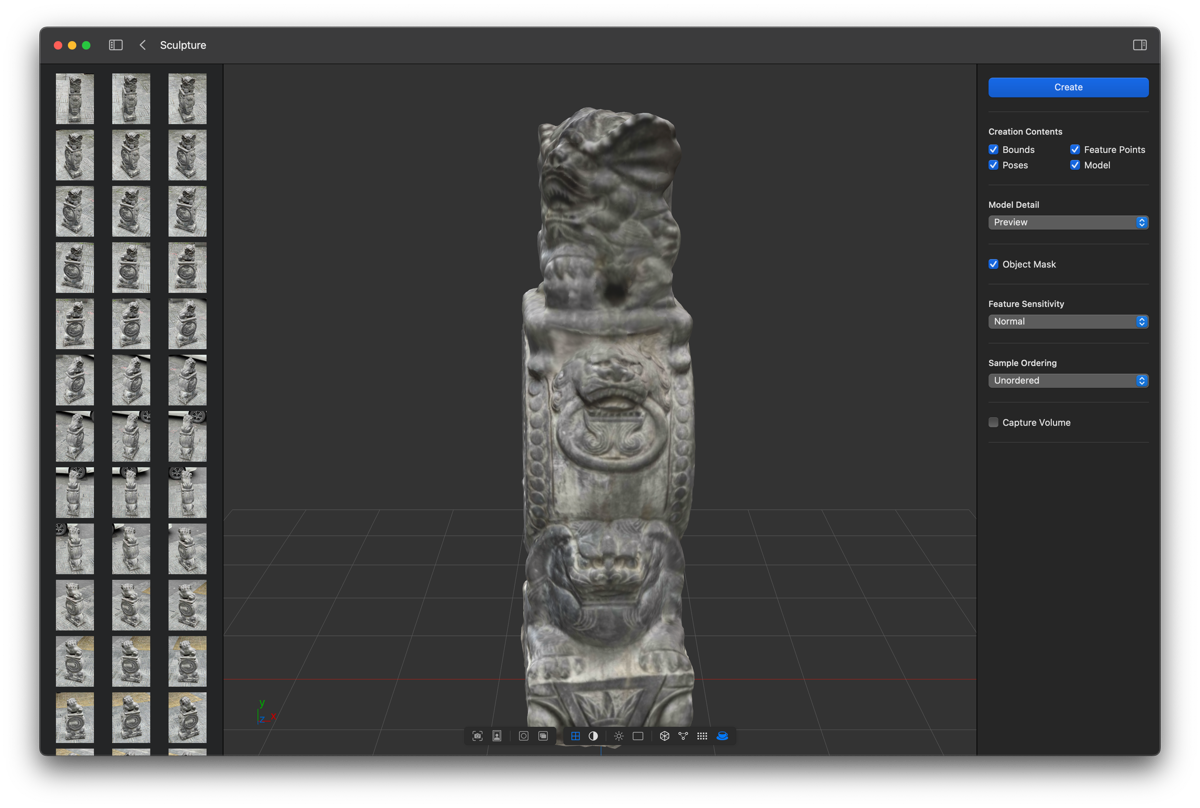
- After you open the capture project, on the left side are photos, on the right side is reconstruction panel, the 3d viewport is in the middle,
Preview Model
- Click “Create” to preview the model. You will see the reconstruction progress view when then task is ready.
Note:
- You need to create the bounds to crop the model with capture volume later.
- Use Feature Points and poses to debug your reconstruction as needed.
Lorem ipsum dolor sit amet, consectetur adipiscing elit. Aliquam tincidunt lorem enim, eget fringilla turpis congue vitae. Phasellus aliquam nisi ut lorem vestibulum eleifend. Nulla ut arcu non nisi congue venenatis vitae ut ante. Nam iaculis sem nec ultrices dapibus. Phasellus eu ultrices

- After the reconstruction finishes, the created contents displays in the 3d viewport.
- You can show or hide creation contents using the tools in the toolbar below the view.

- The created model looks greate. Let’s hide the others and only display the model. The bottom toolbar should look like this

Camera Control
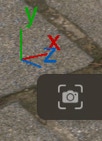
- Click at “Frame Model” tool to frame the model in the viewport.
To Control the camera:
- Drag left mouse to rotate the viewport camera.
- Use two fingers on the track pad or hold option + left mouse drag to pan the camera.
- Use pinch gesture or hold shift + mouse wheel to zoom the camera.

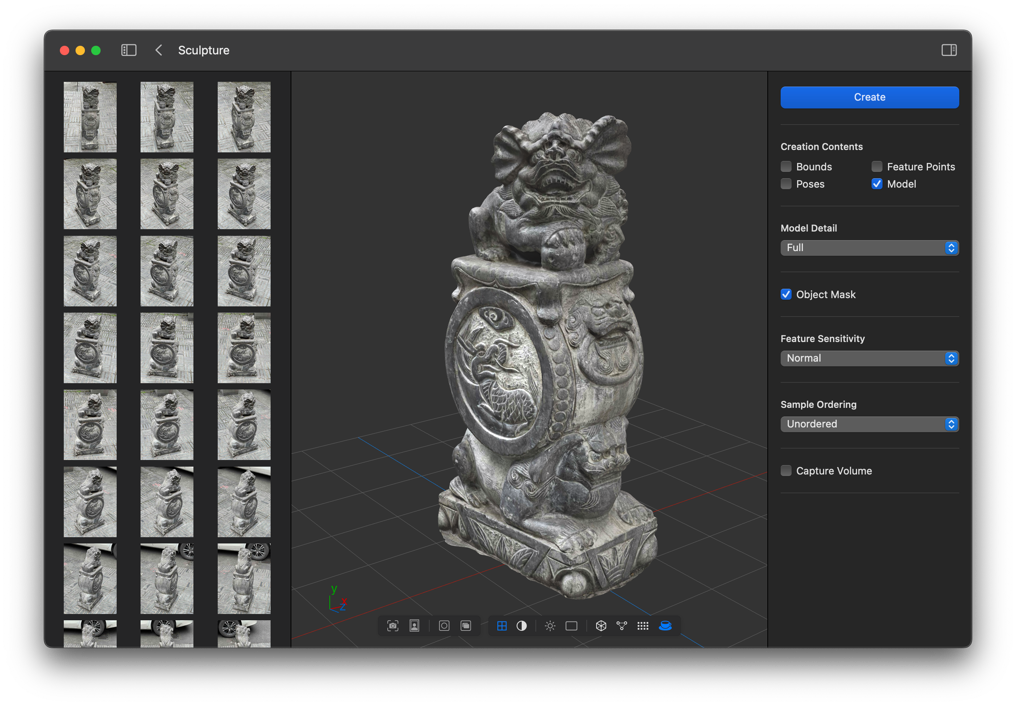
Create High Detail Model
- Uncheck Bounds, Poses and Feature Points in the creation contents section, only keep “Model” checked.
- Select “Full” model detail to create baked texture high detail model.
- Click “Create” to run the reconstruction.
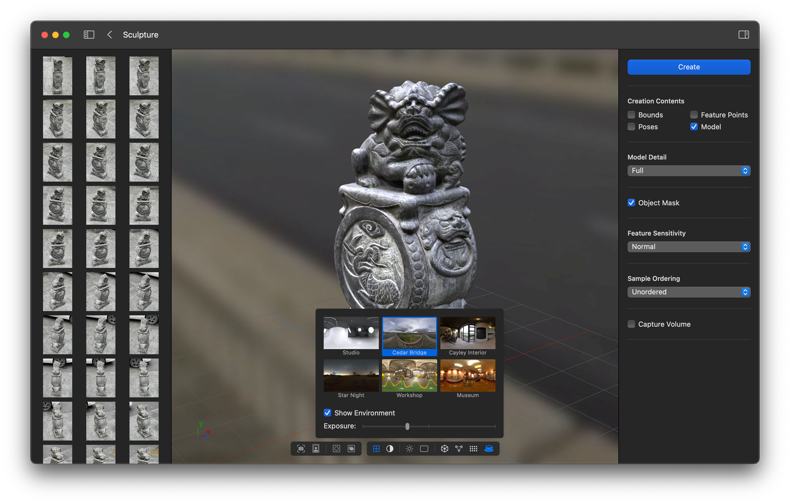
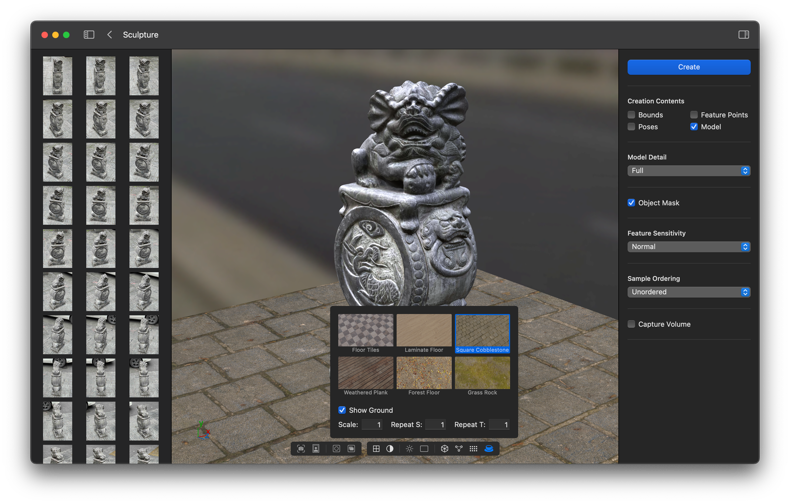
Configure Lighting and Ground
- You can change the lighting and ground with “Configure Light” and “Configure Ground” tool.
- Try select different environments and grounds, adjust the lighting exposure and ground scale.
- The Repeat S and T repeats the textures in S and T. ( You can also understand it as width and length)
Notes: When you display the ground, better to hide the grid.
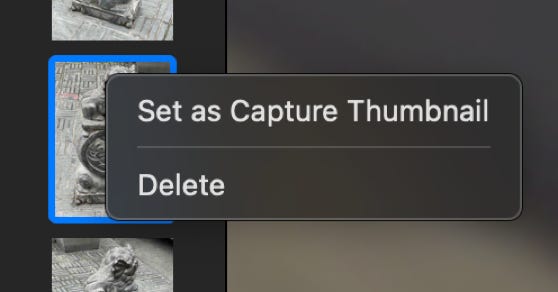
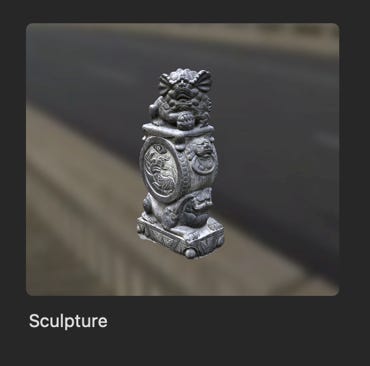
Capture Thumbnail
- You can right click at a photo and choose “Set as Capture Thumbnail” or use the “Capture Thumbnail” tool.
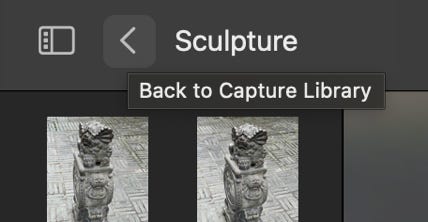
- Click “Back to Capture Library” and check the updated thumbnail of your capture.
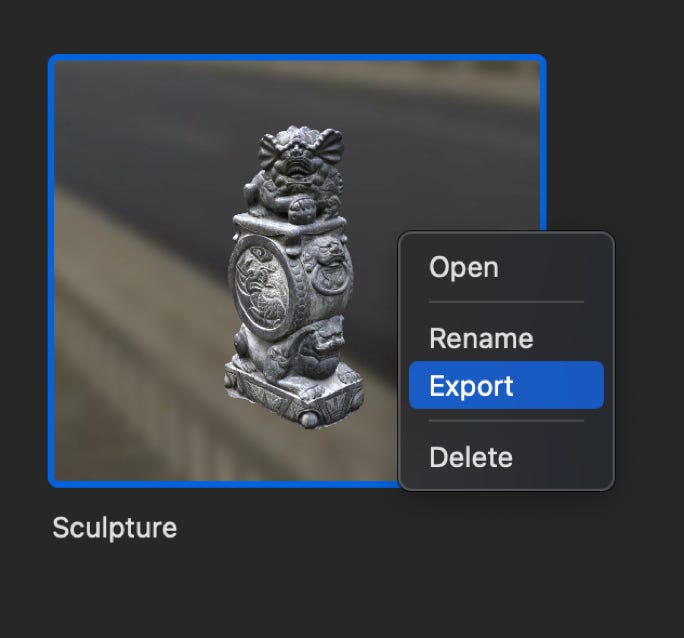
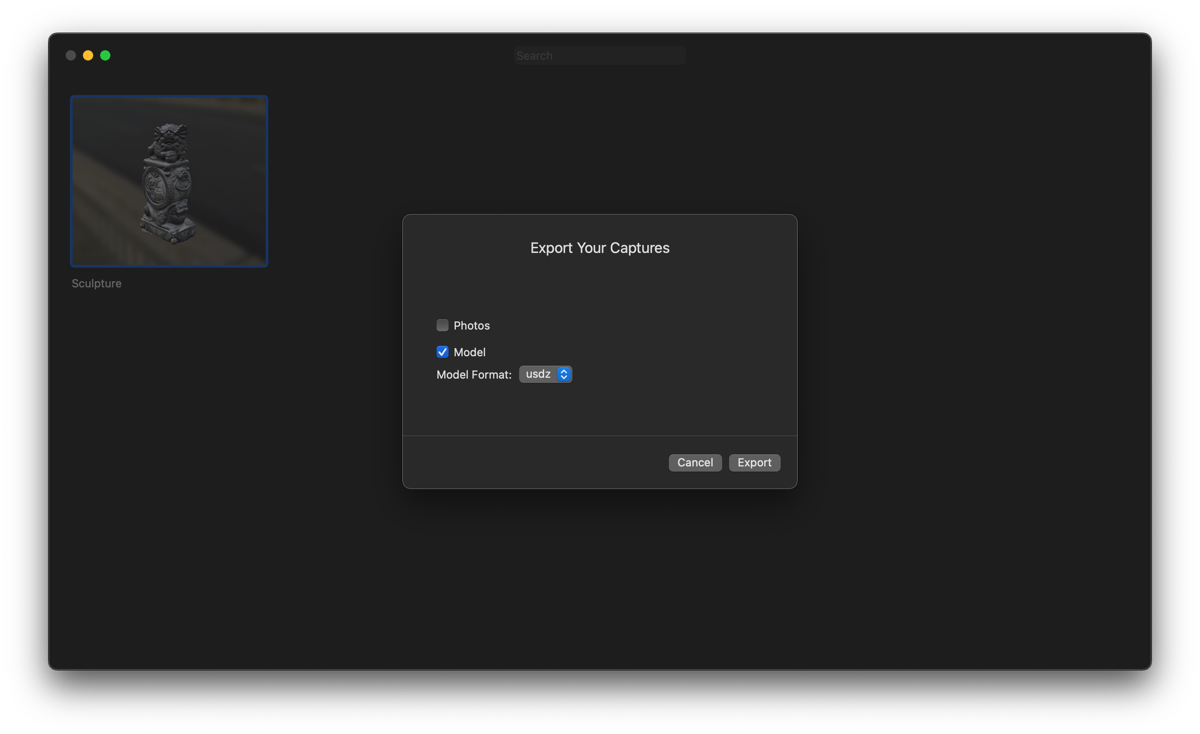
Export
- Select the objects to be export, then right click and choose “Export”, or choose from the command “File -> Export”. The exporting dialogue box will show up.
- Click “Export” button and choose the place you want to export.